Mountain
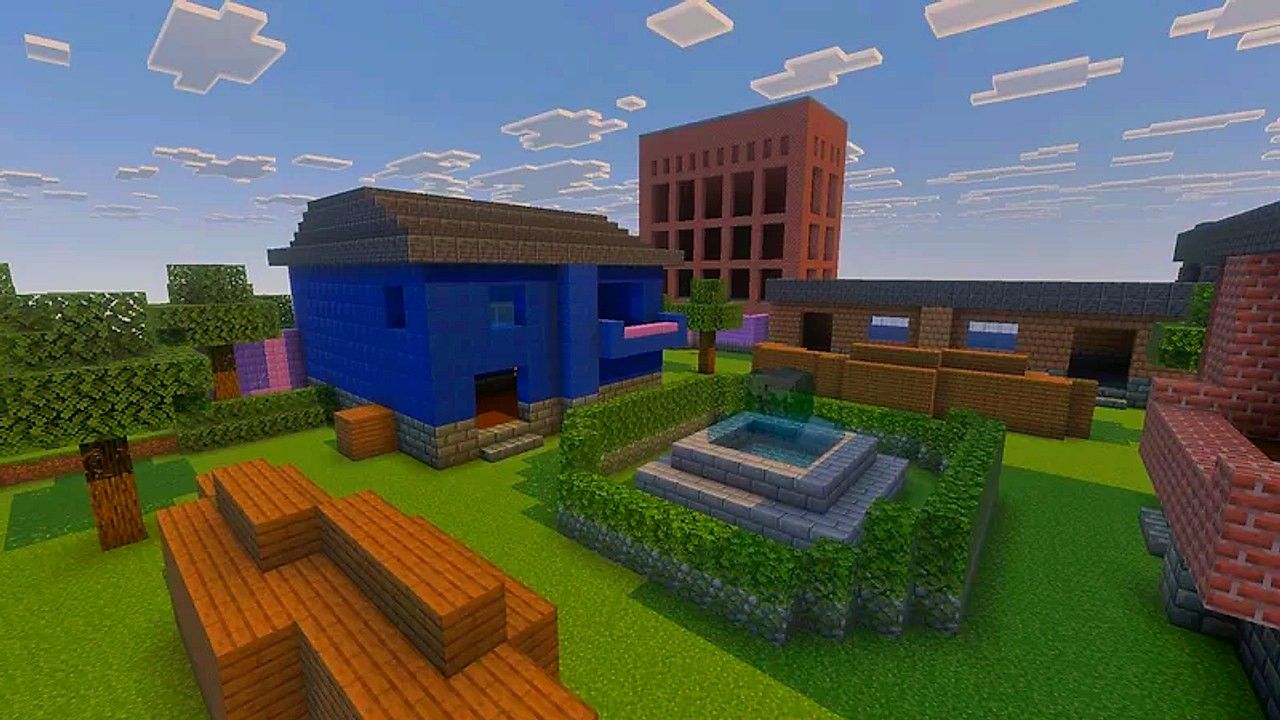
| Style | Fenced compound, four breakable buildings, central fountain |
| Players | Up to 8 per room |
| Modes | Deathmatch, Team Deathmatch, Bots |
| Playable area | 58 × 75 blocks |
| Spawn points | 13 in Deathmatch, 8 per team |
| Destructible blocks | 6,204 (28% of the map) |
| Longest sightline | About 76 blocks |
| Best primary | M416, with the launcher to open buildings |
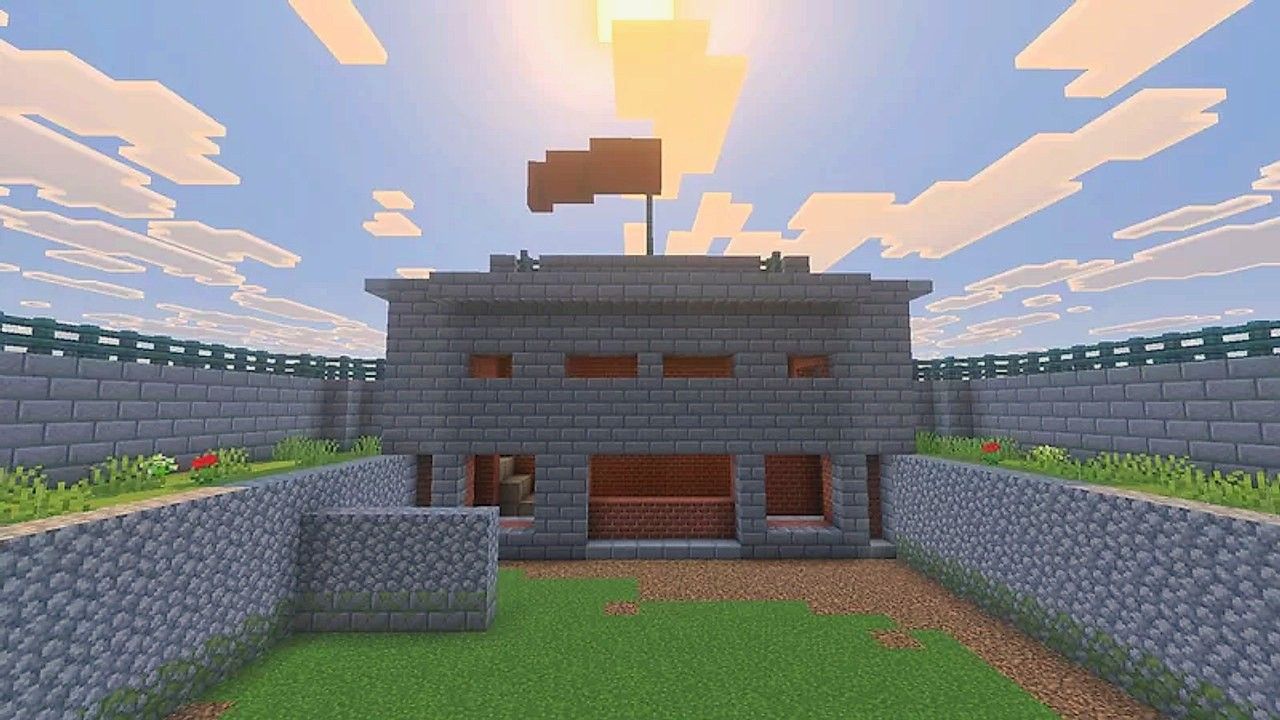
Mountain is a flat, fenced compound of four buildings around a fountain. The playable area is about 58 by 75 blocks and the layout is rotationally symmetric: what one side has, the opposite side has too. Everything outside the fence is out of bounds.
It is the map where walls matter least. More than a quarter of the map is destructible, 6,204 blocks, and most of that is the walls of the four buildings.
Layout
A single-storey hall stands at the north end and another at the south end. On the west side is a two-storey brick building and on the east side a two-storey blue building. The fountain sits in the middle of the square between them, inside a low hedge ring.
The ground is level. The only height on the map is the upper floors of the west and east buildings, 6 blocks above the ground. The roofs cannot be reached. Mountain is also the most roofed map in the rotation: more than a third of the places you can stand have a ceiling overhead, so a lot of each round is fought indoors.
Cover and destruction
Each building is a permanent frame filled in with breakable walls. About 55% of the north hall and 54% of the south hall can be destroyed, 77% of the west building and 81% of the east building. The frame always stays, so a building never disappears, but by the end of a busy round it can be mostly open.
Out in the square, two stacks of planks stand north and south of the fountain, 159 blocks each, with four trees beside them. All of it is destructible. The water in the fountain basin does not stop bullets, so the fountain hides less than it seems to.
Destroyed blocks stay gone until the next round, so the map opens up as the round goes on. The blocks and explosives guide lists how many shots each material takes.
Sightlines and weapons
With the ground flat and the middle open, lines are long for a map of this size. The longest is a diagonal of about 76 blocks through the fountain, and from the north hall to the south hall it is 71 to 72 blocks. About 18% of all pairs of positions can see each other, nearly twice the share on Desert.
The M416 is the standard choice. The Grenade Launcher and the Grenade are worth more here than on any map except Transit, because the wall someone is hiding behind can be removed. The M60 does the same job with bullets.
Spawns
Deathmatch uses 13 spawn points. In Team Deathmatch each side has 8: Red starts in and around the west building and Blue in and around the east building. The two sides are closer together here than on any other map, about 46 blocks, so the first shots come early.
Overview
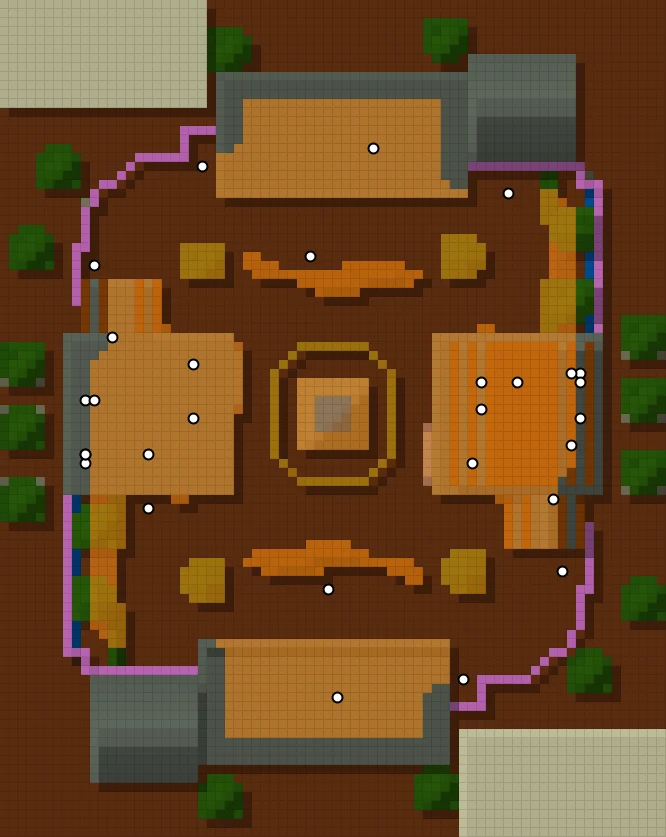
Seen from above, with north at the top. Each square is one block, lighter means higher. Orange areas are destructible — they can be shot or blown apart during a round — and white dots are spawn points.
Tips
- Do not trust a wall that is not part of the frame. If you are being shot at through a hole, move.
- Open a building before you enter it. The launcher and grenades make new doors.
- Cross the square along the plank stacks while they are still standing.
- The upper floors of the west and east buildings are the only high ground. They are also the walls most likely to be shot out.