Italy
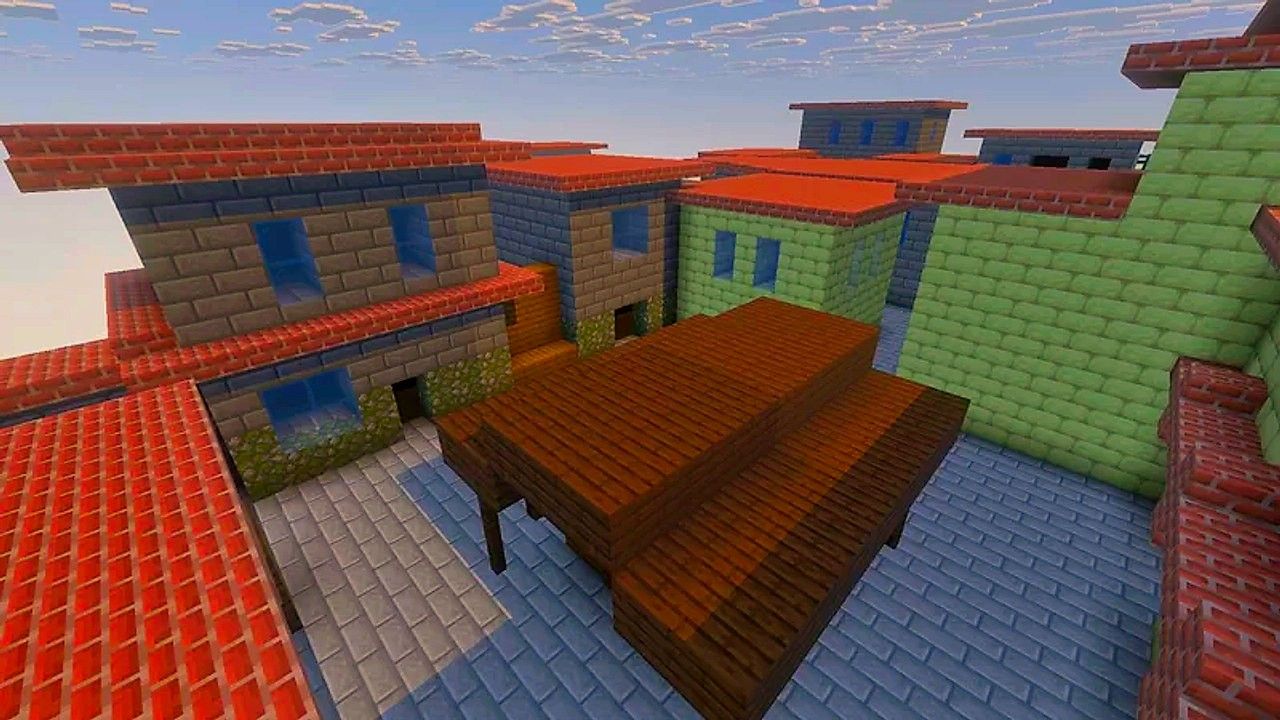
| Style | Tight streets on two levels, short sightlines |
| Players | Up to 8 per room |
| Modes | Deathmatch, Team Deathmatch, Bots |
| Playable area | 91 × 54 blocks |
| Spawn points | 12 in Deathmatch, 7 per team |
| Destructible blocks | 594 (3% of the map) |
| Longest sightline | About 72 blocks |
| Best primary | Double Barrel or M416 |
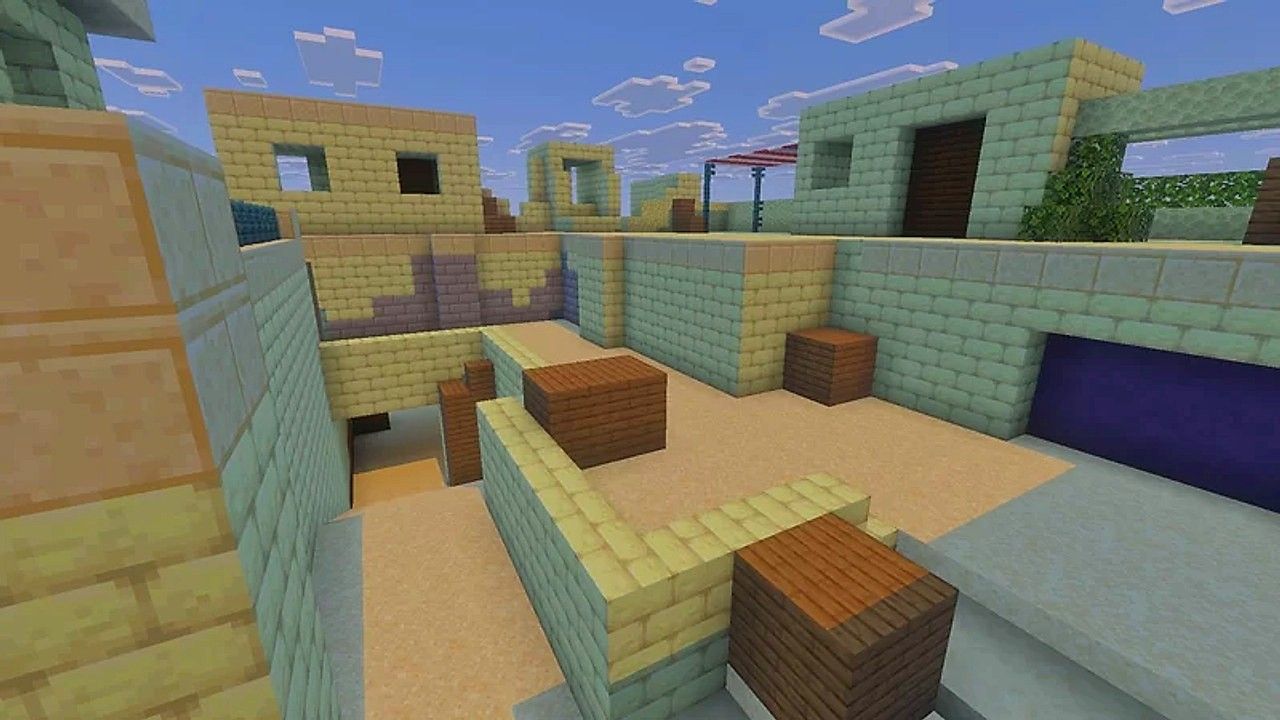
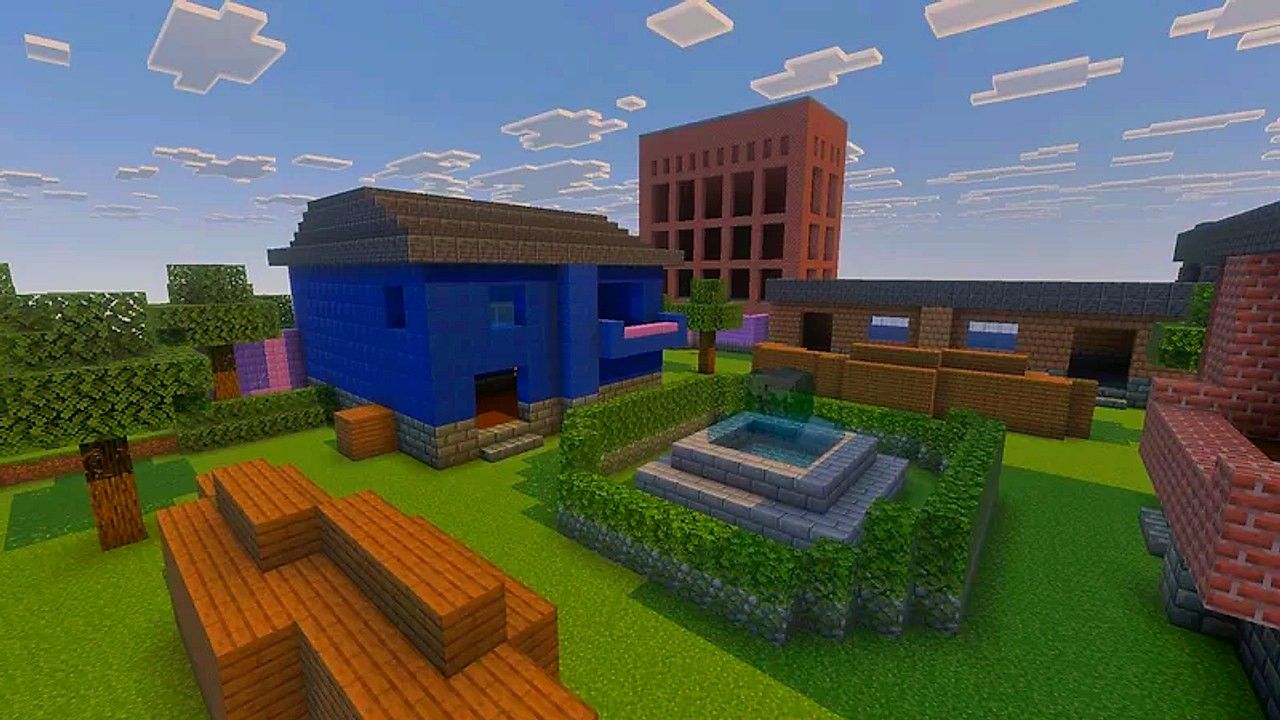
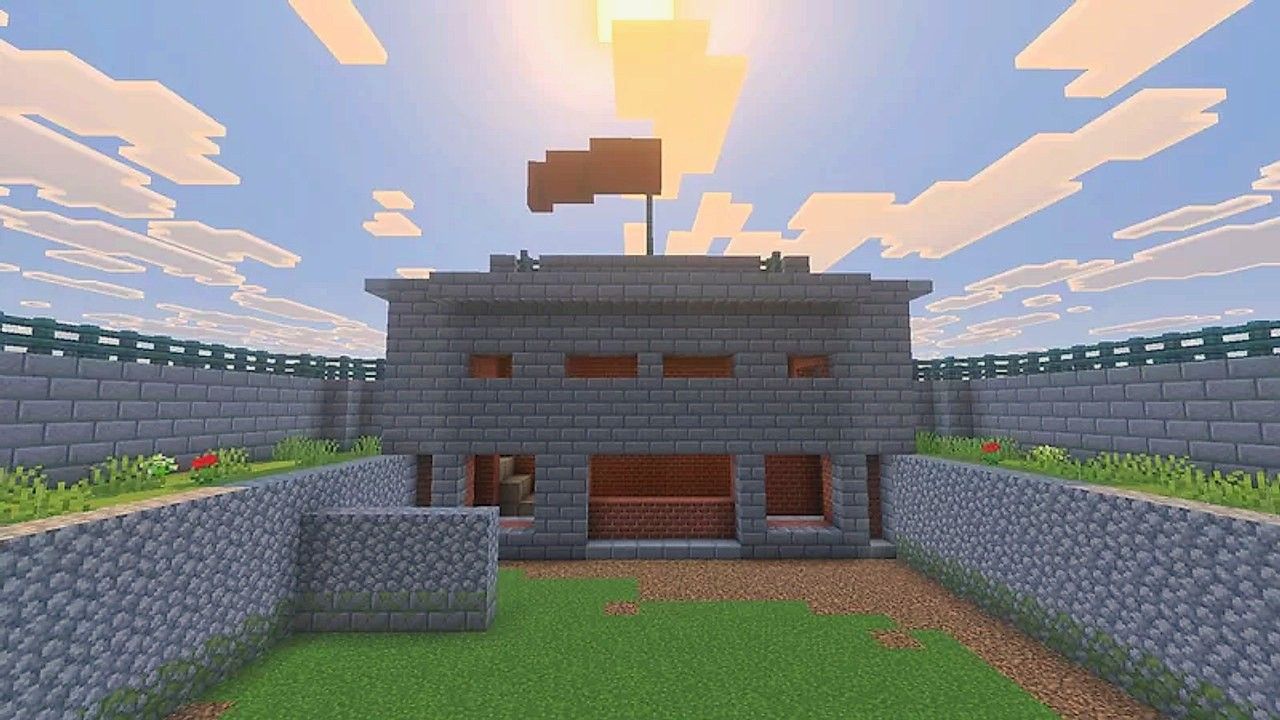
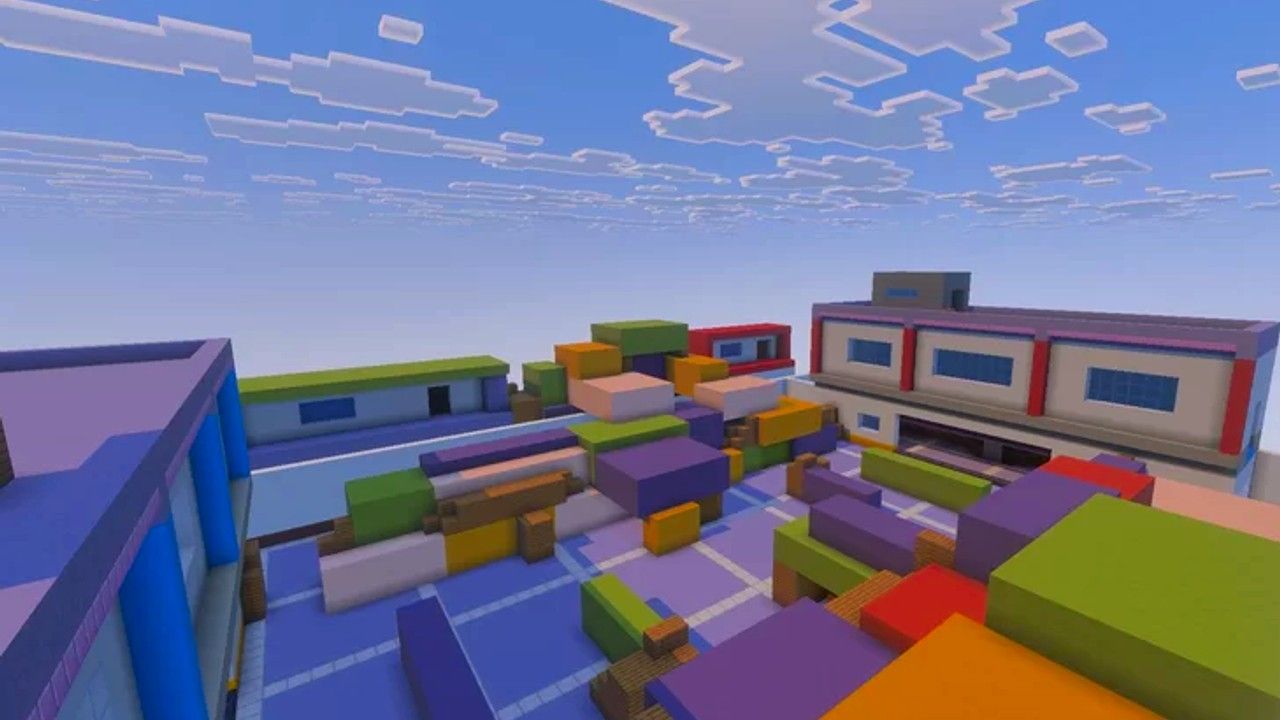
Italy is the tightest map in the rotation. It is a block of streets about 91 by 54 blocks, but buildings fill most of it: less than 40% of the map can actually be walked. Corners are everywhere, lines of sight are short and fights start suddenly.
It is also the map where the two teams start furthest apart, about 79 blocks, so a team round has a slower opening and then a string of close fights in the streets between.
Layout
There are two street levels. The lower streets carry most of the traffic. An upper street level runs 3 blocks above them, and a stairwell in the north-west leads on to a group of rooftops. That north-west corner is the high ground of the map.
The centre of the map is a solid block of buildings, not a square, so there is no middle to hold. Everything moves around it. The three largest open areas are the court in the north-centre, the long south street and the yard at the east end. Even the largest clear square at street level is only about 9 by 9 blocks, in the east yard.
Cover and destruction
Italy has the least destruction of any map: 594 blocks, about 3% of the map. Most of it is planks and the glass in the windows, 109 blocks of it. A wooden market stall in the north-centre court can also be shot apart.
In practice the walls on Italy are permanent. Nobody is going to open a new route with a launcher here. What destruction does is small and local: a window shot out to make a firing slot, or the stall removed so that nobody can hide behind it.
Sightlines and weapons
About two thirds of all lines of sight on Italy end within 8 blocks, and half of the lines between two spots that can see each other are shorter than about 10 blocks. No other map is this close. There is one exception, a diagonal of about 72 blocks, but it is a single line and not something to build a round around.
This is the best map for the Double Barrel and the Combat Knife, and the M416 is the safe all-round choice. The L96A1 has very few places where its range matters.
Spawns
Deathmatch uses 12 spawn points. In Team Deathmatch each side has 7. Red starts in the low yard at the east end. Blue starts in the north-west, 3 to 6 blocks higher than Red, so Blue begins on higher ground.
Overview
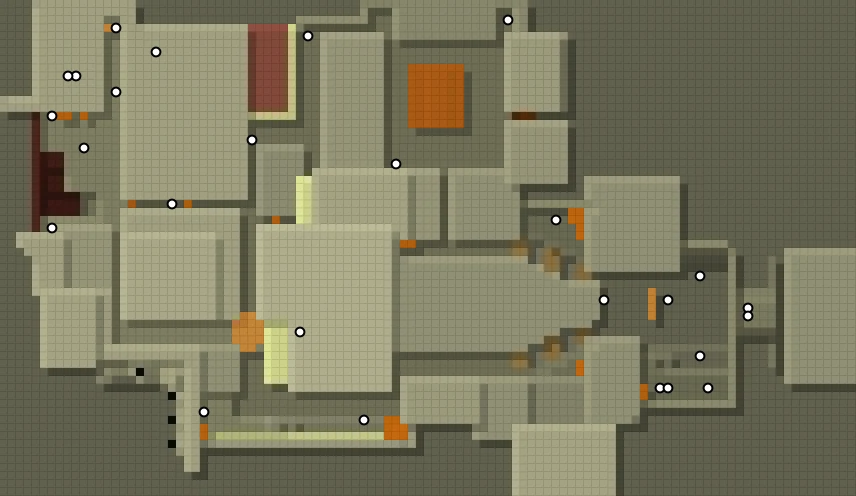
Seen from above, with north at the top. Each square is one block, lighter means higher. Orange areas are destructible — they can be shot or blown apart during a round — and white dots are spawn points.
Tips
- Check every corner before you turn it. Most fights on Italy are decided by who was already aiming.
- Use the upper street level to pass over a fight instead of through it.
- Reload behind a wall, not behind a window or the market stall. Those break.
- With the L96A1, switch to the Desert Eagle while you move between positions.