

Maps
There are 5 maps in the public rotation. Every map is built from blocks in our own editor, and every map has destructible blocks — walls and cover you can shoot apart — alongside a permanent outer shell. Public rooms play across the maps in rotation, and when you create a private room you can pick the map yourself.
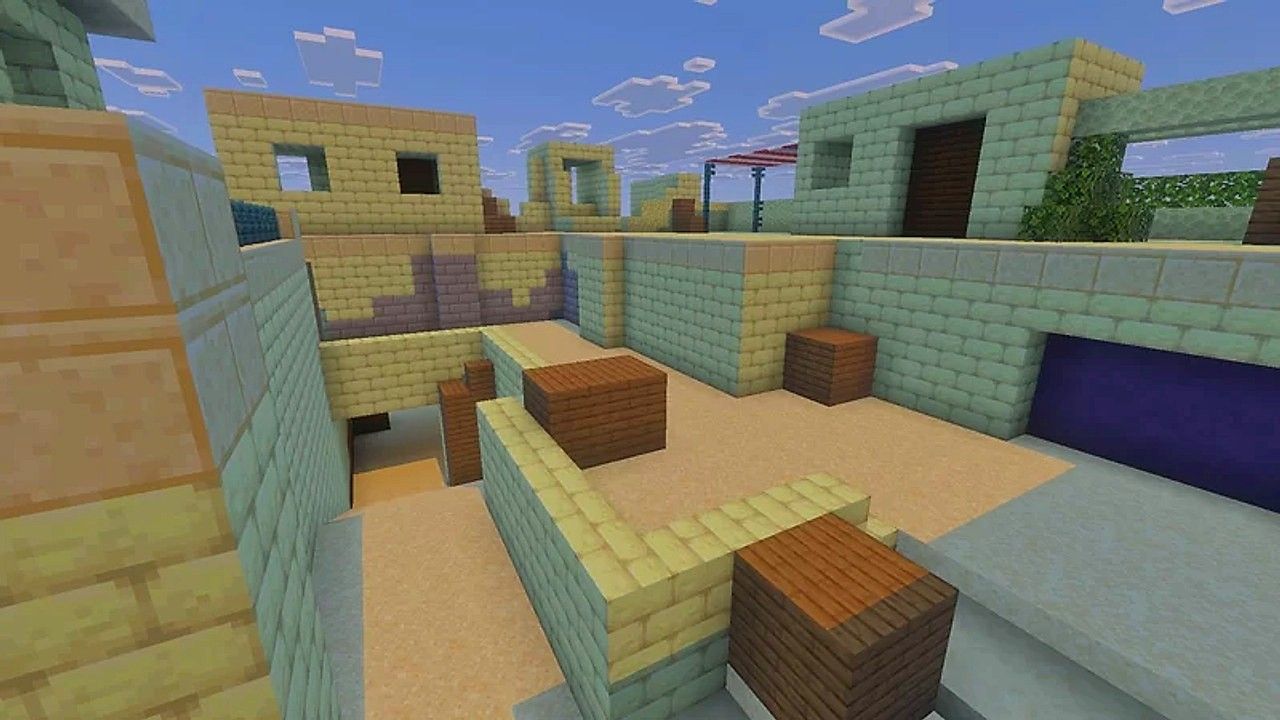
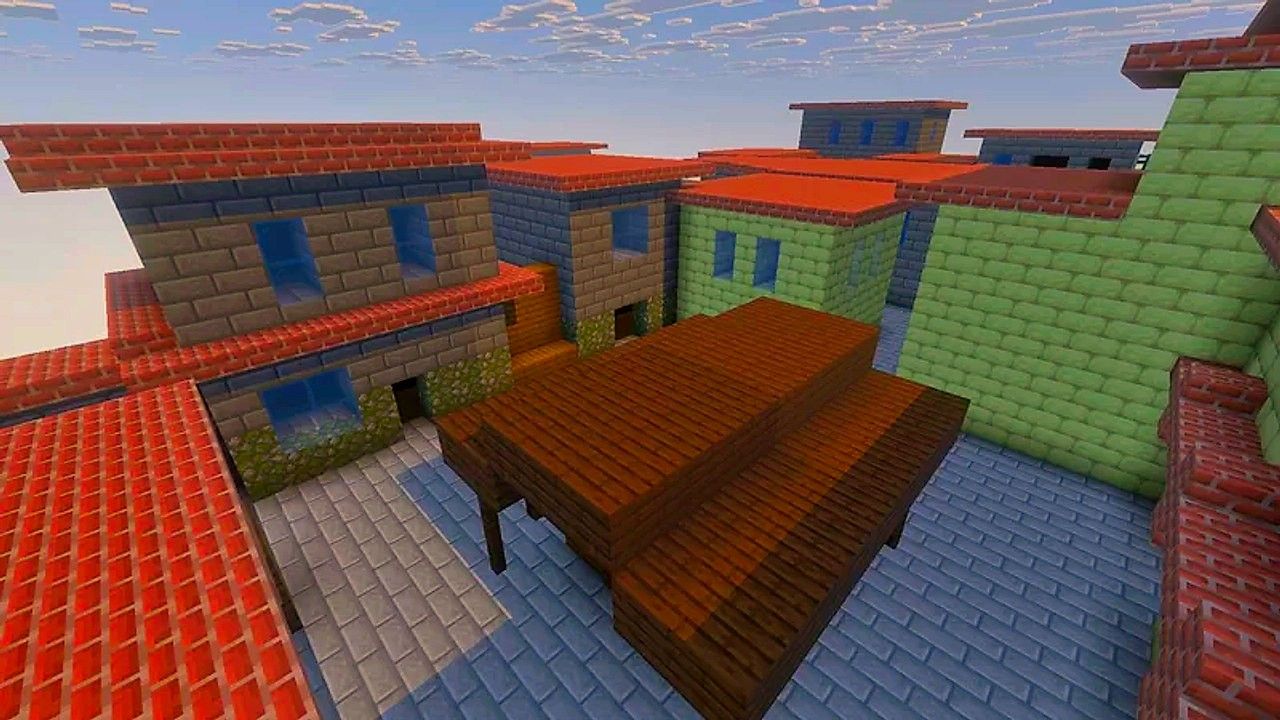
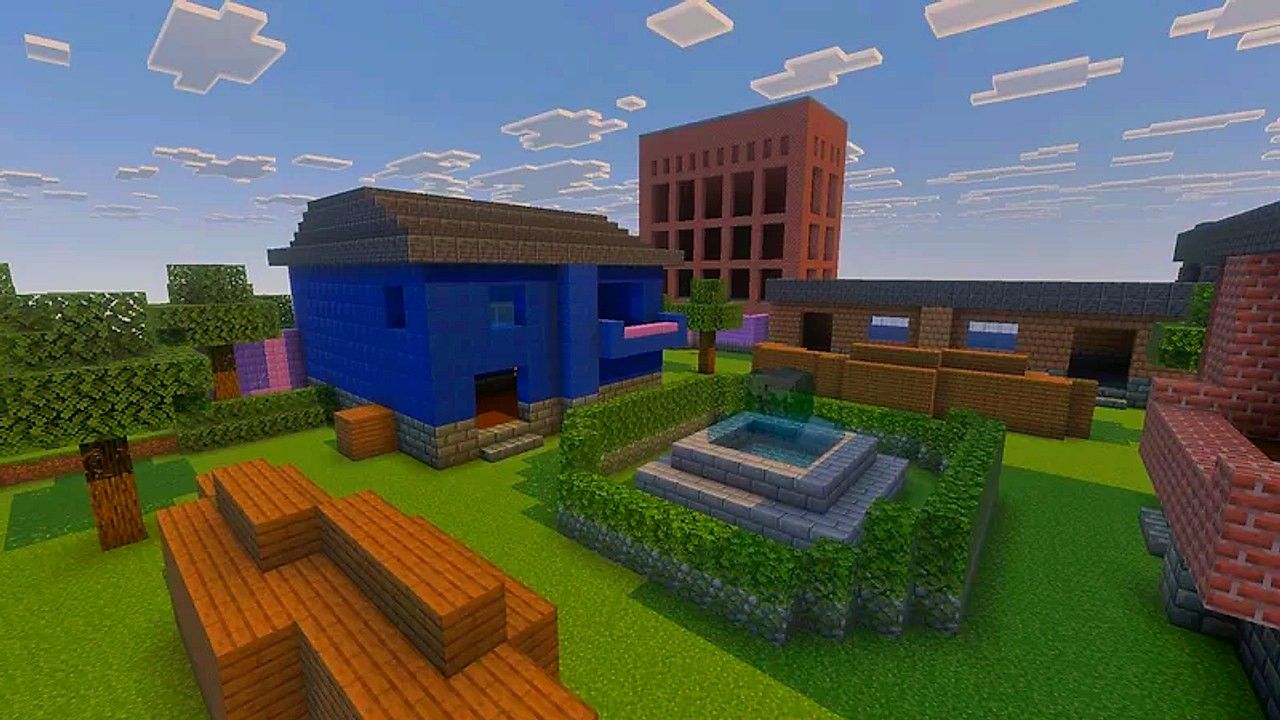
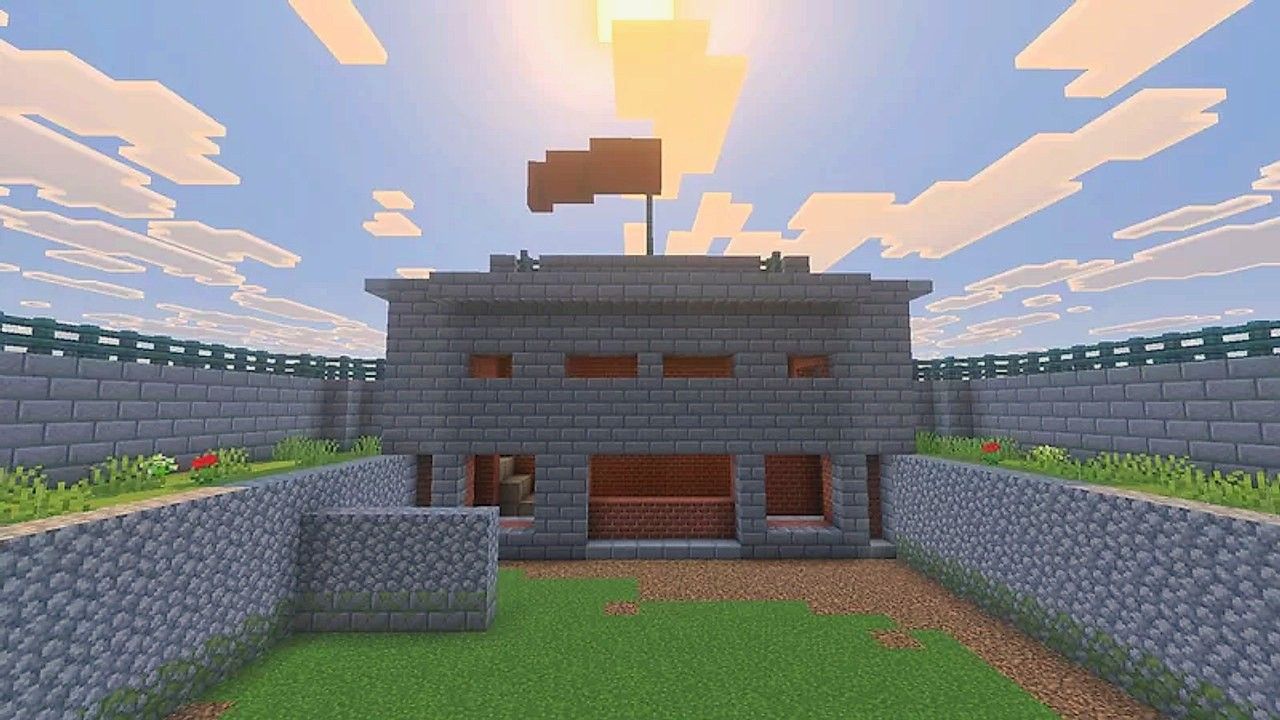
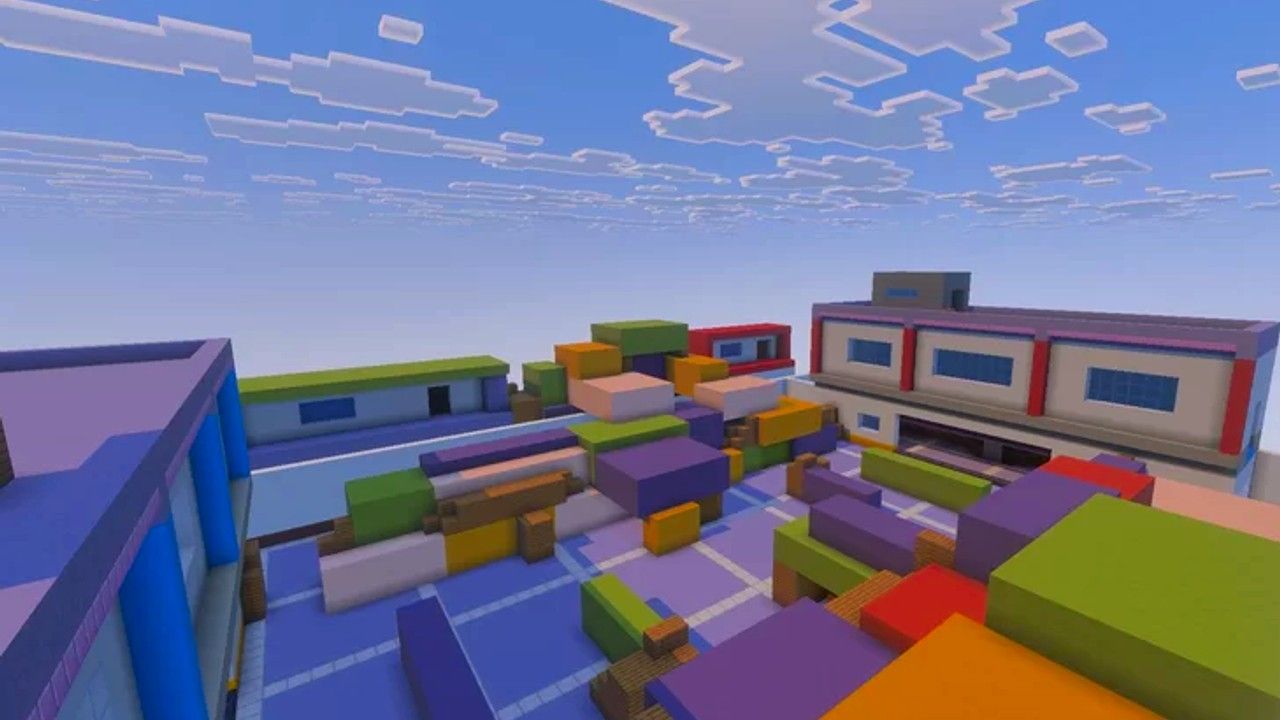
The maps side by side
| Map | Playable area | Destructible | Longest sightline | Spawn points |
|---|---|---|---|---|
| Desert | 91 × 88 | 5% (1,368 blocks) | 85 blocks | 14 Deathmatch, 8 per team |
| Italy | 91 × 54 | 3% (594 blocks) | 72 blocks | 12 Deathmatch, 7 per team |
| Mountain | 58 × 75 | 28% (6,204 blocks) | 76 blocks | 13 Deathmatch, 8 per team |
| Towers | 65 × 39 | 3.5% (484 blocks) | 65 blocks | 11 Deathmatch, 6 per team |
| Transit | 78 × 50 | 52% (12,991 blocks) | 77 blocks | 13 Deathmatch, 4 per team |
All sizes are in blocks, and one block is one metre, the same unit the weapon pages use for range. The playable area is the part of the map you can actually reach, not the outer shell.
Size. Desert is the largest map and Towers the smallest. On Towers the next fight is always close. On Desert there is room to go around one.
Destruction. Transit and Mountain are the two maps where breaking blocks changes the round: just over half of Transit and more than a quarter of Mountain can be destroyed. On Desert, Italy and Towers it is 5% or less, mostly crates, windows and a few walls. Destroyed blocks return when the next round starts.
Openness. Towers is the most open map: a third of all pairs of positions can see each other. Italy is the tightest, where about two thirds of all lines of sight end within 8 blocks. The longest single line in the game is on Desert, about 85 blocks.
Team starts. In Team Deathmatch the two sides start furthest apart on Italy, about 79 blocks, and closest on Mountain, about 46.
Each map page has the layout, the cover that breaks, the sightlines, the spawns and a top-down overview. For which gun to bring where, see the choosing a primary guide.